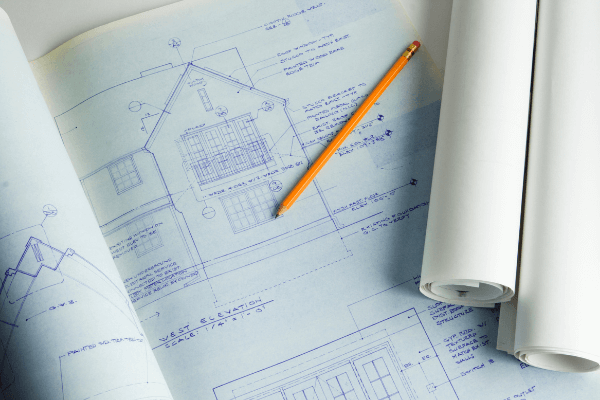
Planning is the key when taking on a project that involves removing your roof.
Before you plan your 2nd story, research what obstacles will need to be dealt with.
Examples of items that need to be addressed are:
- Size of ceiling joists, can they support a 2nd story floor?
- Are mechanicals run over the top of existing ceiling joists? (plumbing, electric, HVAC)
- How much overhang is on existing roof and are there any utilities fastened to it.
- Is the existing roof stick built (built on site) or a truss roof (manufactured).
- Is the roof sheathing 1x boards or plywood?
- How many layers of shingles are there?
- Are there any Stacks or flues protruding through the roof such as a fireplace chimney, furnace flue, or vent pipe.
These things need to be considered so the addition can be built as quickly as possible.
When starting the tear off, the first thing that needs to be addressed is the soffit. Removing this first will free up the rafter ends when it comes time to remove them. Sometimes utilities like the phone and electrical lines are attached to the soffit. These should be moved by their respective utility company.
Now you can tear off the roof. The easiest way to remove the shingles and sheathing is with a circular saw. It’s best to use an old blade with a lesser amount of teeth because it will be trash when you are done.
When cutting the roof away, start at the ridgeboard and run the saw between the rafters all the way to the rafter tails. Repeat this cut every 32″ from one end of the roof to the other. These pieces, assuming they are plywood, can be removed in 32″x 48″ squares. There will still be some weight to these pieces but this will make them more manageable. Working from the ridge, these squares are loosened with a sledgehammer. Once there is enough room, you can use a prybar to free them from the rafters. My favorite technique is to use a 6 to 8 foot 2×4. Slip it under the loosened piece and use an adjacent rafter as a fulcrum. Push down on the 2×4 and up comes the plywood and shingles. This same procedure works with trusses also.
If the roof sheathing is planks, the cuts should be made 48″ to 64″apart. If there are 2 or more layers of shingles, you should be able to roll these sections down the rafters.
Once the roof sheathing is removed, the rest of the components can be removed. If the soffit and fascia haven’t been removed yet, this is another opportunity to do so. Once that is gone the rafters can be removed. The rafters can be detached from the ridgeboard by using a sledgehammer or a sawzall. After they are loose from the ridge, they can be twisted off the top plate.
Trusses can be a little trickier. After the sheathing is removed, most of the truss work will have to be cut out. The only part left would be the bottom cord that holds up the drywall ceiling. Since most of these cords are 2×4’s, larger 2x lumber will have to be sistered alongside for added support. As long as there are bearing walls below, this 2x lumber could be 2×10’s, 2×12’s or engineered lumber such as I-joists. Each situation is different and what is used is spec’d by an engineer or architect.
In most cases, the electric (conduit), plumbing and/or HVAC run over the top of the ceiling joists. Usually, the easiest way to deal with this, is to build a knee wall high enough for the new floor joists to clear these obstructions. This makes the second floor deck higher so it will make your stair run longer. Making sure you have room for the stairs in this instance is another consideration.
Once the deck is down, the walls, ceiling joists, and roof of your new addition can follow.
Whatever situation might you have, good planning will make this task easier and quicker. Time is of the essence when it comes to removing a roof. You want to protect the existing structure and all of your valuable possessions that are left inside.